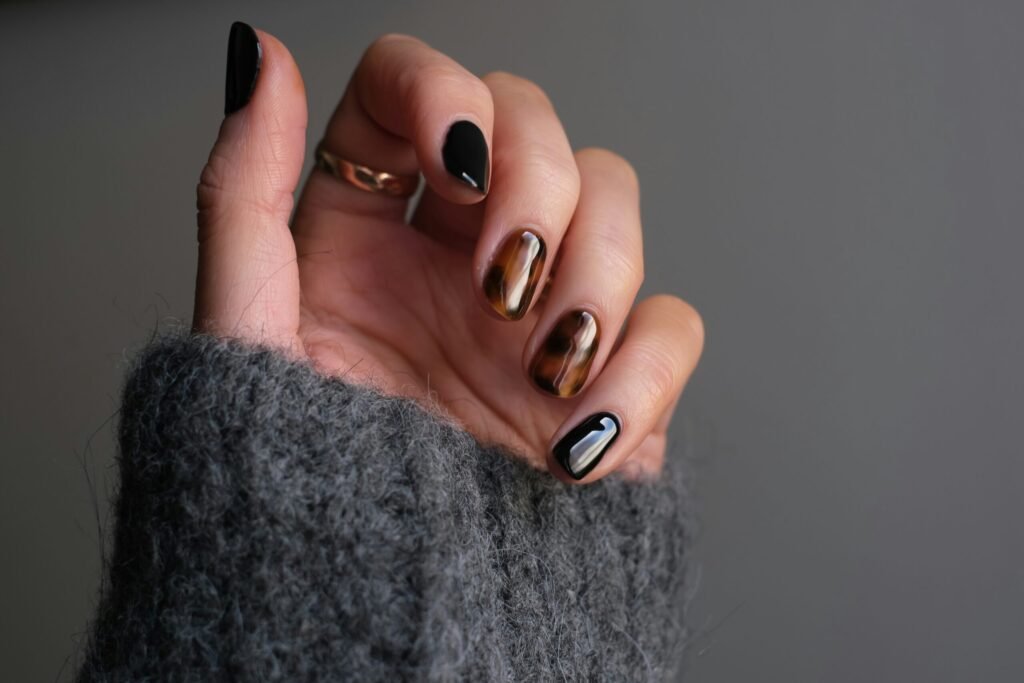
Achieving a mesmerizing, dimensional velvet nails manicure at home is now completely possible thanks to modern magnetic gel innovations and basic magnetic manipulation. Unlike traditional metallic polishes that settle into flat, predictable lines, a velvet manicure utilizes microscopic iron-oxide dust suspended in a fluid gel base to mimic the plush texture of authentic crushed velvet fabric. When a specialized magnet interacts with the wet gel, thousands of floating particles shift simultaneously, catching the light from every single angle to create an illusion of depth and movement on the nail plate.
Affiliate & Advertising Disclosure: LumiVexa is a reader-supported publication. Product purchases made through links on this website may generate an affiliate commission from Amazon Associates at no additional expense to the buyer. For details, please review the formal Affiliate Disclosure and Privacy Policy.
This technique goes far beyond a single cat-eye stripe, pulling the light outward to form a soft, diffused halo that makes the entire nail look like it is glowing from within. Based on widespread internet trends, buyer reviews, and popular community consensus, this comprehensive guide breaks down the absolute finest velvet kits, essential supplies, and step-by-step application secrets to perfect this high-performance salon look at home.
Quick Guide: The Holy Grail Velvet Cat-Eye Kits At-A-Glance
High-density glitter dispersion that sparkles under any lighting
The Essential Supply Checklist
Executing a flawless velvet finish requires a few specialized, high-performance tools to properly control the floating particles before they are locked into place under a lamp:
A High-Quality Velvet Gel Polish: Look specifically for formulas labeled as 9D or Wide Cat Eye. These contain a significantly higher density of micro-fine magnetic particles, which is the absolute secret to achieving that rich, authentic velvet fabric texture.
A Strong Neodymium Magnet: While most starter kits include basic magnetic sticks, upgrading to a heavy-duty square or cylindrical neodymium wand provides far crisper, effortless particle control from the edges of the nail.
An LED/UV Nail Lamp: Because magnetic particles stay completely fluid until they are cured, a reliable curing light is necessary to instantly freeze the perfect light-shifting pattern in place.
An Opaque Base Color: A rich, deep black or matching cream gel polish acts as a dark canvas, absorbing light underneath to make the shifting velvet shimmer pop with maximum contrast.
The Ultimate All-In-One Interstellar Collection! This comprehensive magnetic kit has completely taken over the DIY nail community, offering an all-inclusive selection of highly dense, light-shifting formulas designed to provide a bright, glass-like reflective glaze over any dark background canvas. The ultra-fine particles respond instantly to tool manipulation, allowing users to effortlessly pull the shimmer into a plush, diffused velvet effect across the entire surface of the nail.
The Texture & Vibe: Formulated as a low-odor, smooth gel base that applies evenly without patchiness, it is intended to be exceptionally gentle on natural nails while delivering professional-grade depth.
Widespread Community Verdict: Reviewers report an incredibly high-gloss, chip-resistant wear that lasts several weeks when fully cured under a standard light source. While it requires the purchase of a separate UV/LED nail lamp to harden the gel polymers, the kit comes bundled with a bonus dual-ended magnet wand to start creating galactic auroras right out of the box.
The Step-by-Step Velvet Blueprint
1
The Canvas Prep
60 Seconds (Base Coat)
Core Action: Clean natural nails, push back cuticles, and buff surface shine. Technique Secret: Eliminating oils ensures maximum gel adhesion.
2
The Contrast Base
60 Seconds (Per Layer)
Core Action: Apply two thin layers of an opaque background color like black. Technique Secret: A dark backing absorbs light to make glitters pop.
3
The Velvet Paint
Do Not Cure Yet
Core Action: Apply an even coat of magnetic gel polish. Technique Secret: Keep the layer wet so iron particles remain fluid.
4-7
Magnetic Manipulation (Sides, Tip, Cuticle)
Do Not Cure Yet
Core Action: Hover the rectangular magnet 5mm away along the left side, right side, free edge tilt, and cuticle border for 5 seconds each. Technique Secret: Guides shimmer inward to form a fluid ring of light.
8
The Flash Lock
10 Seconds (Flash Cure)
Core Action: Place finger under lamp immediately. Technique Secret: Freezes particles instantly.
9
The Glass Seal
60 Seconds (Full Top Coat)
Core Action: Full cure and apply high-gloss top coat. Technique Secret: Seals and protects against chipping.
Workflow Directive:
Process one single finger at a time through the magnetic manipulation phases to prevent settling.
The secret to a true velvet finish—rather than a single, sharp cat-eye stripe—lies in pushing the iron particles inward from all four edges of the nail plate, rather than pulling them toward the center from above. This creates a multi-dimensional optical illusion where the shimmer seems to float right beneath the surface.
For the absolute best results, work on one single finger at a time through the painting and magnet steps so the magnetic particles do not settle before the pattern can be locked down under the light.
Frequently Asked Questions: Quick Velvet Truths
Why does the velvet effect seem to disappear after a few minutes? This common issue happens when the flash cure step is skipped. If the magnetic particles are not instantly locked into place under a lamp right after manipulation, they will slowly drift apart and sink back down into the fluid gel, losing that sharp, three-dimensional fabric look.
Can this technique be executed using standard, air-drying nail polish? While traditional air-drying magnetic polishes exist, they are significantly harder to manipulate into a true velvet look. Regular polish dries far too quickly in the open air, locking the particles in place before the four-sided push technique can be completed across the whole nail plate.
How can a velvet manicure be safely removed without damaging natural nails? Since these are durable soak-off gel formulas, the top glossy layer must be broken first by gently filing the surface with a nail buffer. Wrapping each nail in an acetone-soaked cotton ball secured with aluminum foil for 10 to 15 minutes allows the hardened polymers to break down completely, so they can be slid off gently with a wooden cuticle stick.
Medical & Safety Disclaimer: The content featured on LumiVexa is for informational, aesthetic, and everyday entertainment purposes only. As a platform dedicated to beauty enthusiasm, content involves researching ingredient profiles, analyzing formulation catalogs, and identifying viral trends. Personal product testing is not performed, and operations are not conducted by a professional dermatologist, aesthetician, or medical provider. Because skin types react uniquely to different formulations, official manufacturer guidelines must always be reviewed, proper patch tests performed, and a certified health professional consulted before introducing any featured cosmetic or skincare product to a personal routine.